My Product Cares
BlogSchedule a callContact us
  • Overview
  • Frontend Page
    • Prefill form fields
    • Registered entries
  • Claim Warranty
  • App Admin
    • Forms
      • Listing
        • Registration detail
      • Form Design
      • Form Settings
        • Limit product search to specific products
      • Claim Warranty Form
    • App Settings
      • General Settings
      • Custom From Email
      • Serial Numbers
        • Serial number with file download
    • Email Templates
    • Warranty
    • Navigation
    • Customer Admin Link
    • Registrations In Account Area
    • Form inside Shopify Page
    • Add registrations for customer
  • POS (Point Of Sales)
  • Integrations
    • Klaviyo
    • Stripe payment
  • Video tutorials
  • Advance
    • API
    • Import/Migrate Registrations
    • Webhook
    • Downloadable assets after submit
    • Serial number checker/validator
    • Shopify Flow
  • Frequently Asked Questions (FAQ)
    • Why is View on the frontend link not working?
  • Migrate to v2
  • Change Logs
  • Contact us
  • Terms & Conditions
  • Privacy Policy and Data Protection
Powered by GitBook
On this page
  1. App Admin
  2. App Settings

Custom From Email

PreviousGeneral SettingsNextSerial Numbers

The app will send out emails to emails to customer and the admin when there is a new registration, by default the from email address for this email is set to mailer@varify.xyz

Its good practice and better brand recognise for customer if the from address if from your domain.

The app use Amazon Email service to send out emails, because the problem with spams and identity, all from emails will need to verify to confirm the real identity and ownership.

The verification involve a few steps:

Go to Admin > Apps > My Product Registrations > App Settings > General Setting > From Email

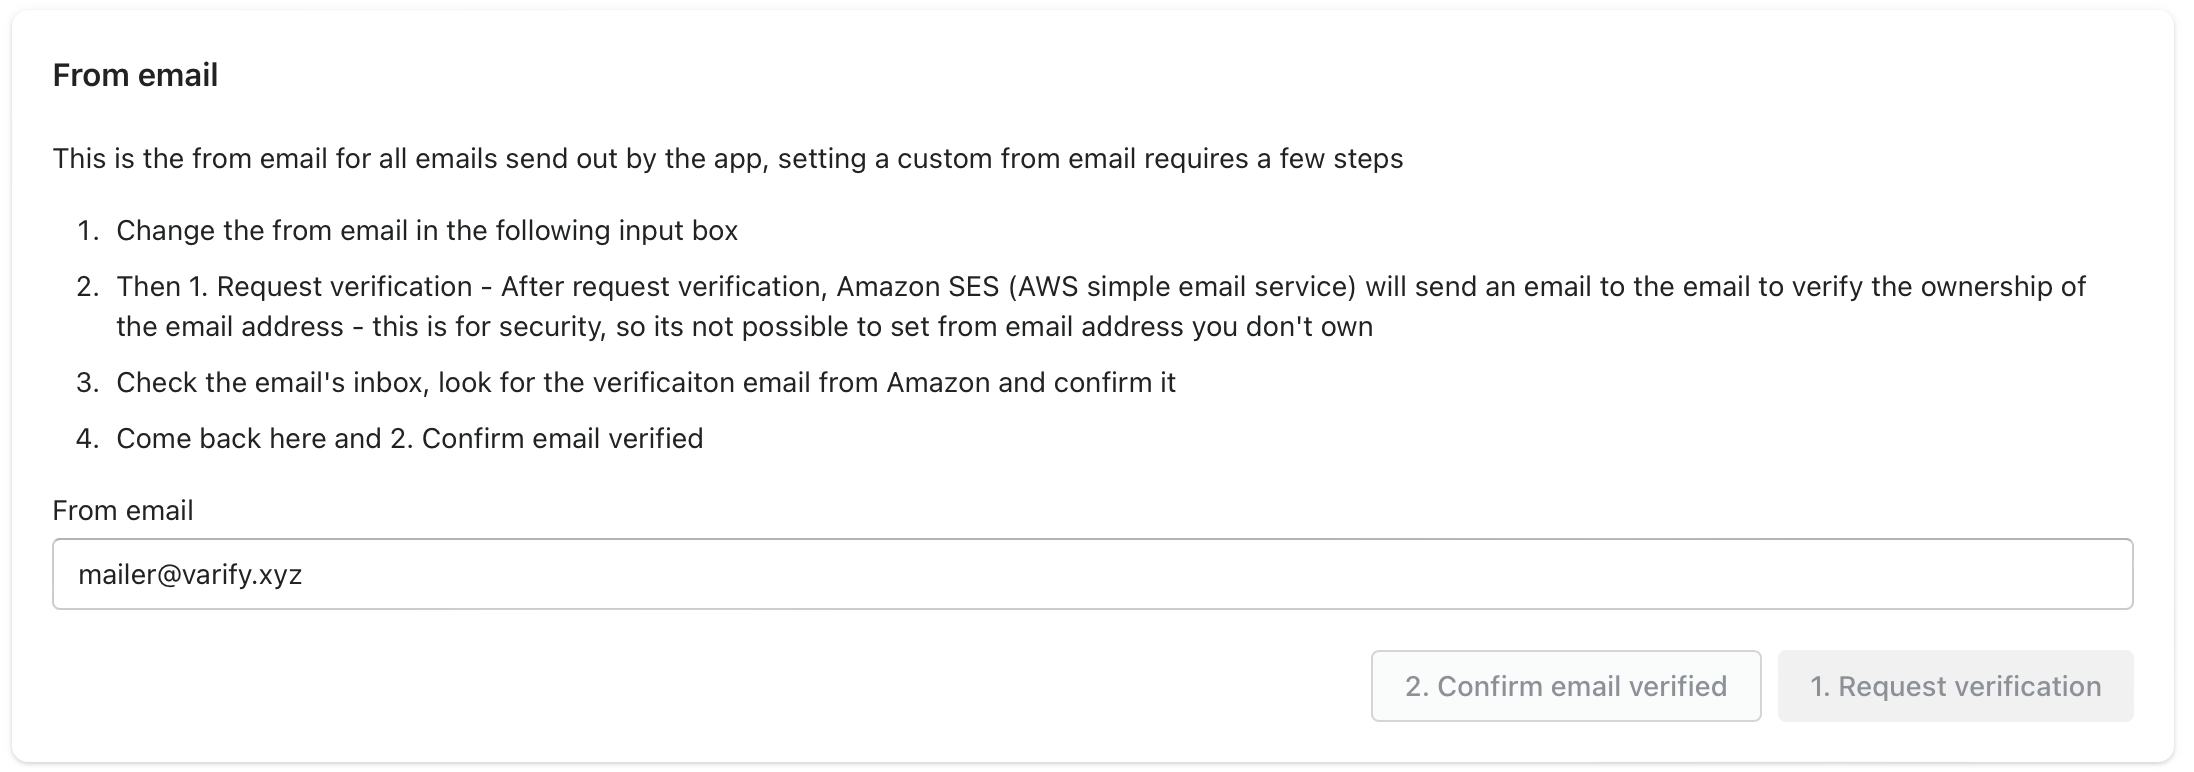
  1. Put in the email address in the box, then click Request verification - Amazon will send a verification email to that email.

  2. Go to your inbox, and click on the verify link.

  3. Once its verified, go back to the app admin, and click Confirm email verified.

  4. Finally Save Settings to finish it, from now all from email will be from your custom email address.